
Every CDL driver must conduct a pre trip inspection to ensure vehicle safety and compliance with legal requirements. This critical check includes multiple vehicle components, reducing the risk of accidents and costly repairs. In this article, we will walk you through the importance of pre-trip inspections, how often to perform them, and the essential steps involved.
Table Of Content
Key Takeaways
- All CDL drivers are legally required to perform daily pre-trip inspections to ensure vehicle safety and compliance with regulations.
- Neglecting pre-trip inspections can lead to serious safety risks, legal consequences, and significant financial costs, including repair expenses and possible employment impacts.
- A comprehensive pre-trip inspection checklist should include checks of the engine, brake system, wheels and tires, coupling area, lights, and safety equipment to ensure optimal vehicle performance.
Who Needs to Perform a Pre Trip Inspection?

Every CDL driver knows that safety is paramount. But did you know that all CDL drivers are required to conduct cdl pre trip inspections on their commercial vehicles? It’s a legal requirement to ensure every trip is safe. Whether you’re a seasoned driver or new to the industry, understanding the importance of these inspections is crucial.
Pre-trip inspections are a daily routine that ensures your vehicle is roadworthy and ready for the journey. For Class A CDL drivers, this means inspecting the vehicle before any wheel movement after being off duty, daily while on the road, and post-trip at the end of the day. Failing to perform these inspections can lead to serious consequences, including a four-point violation in CSA points.
Neglecting this step increases accident risks, affects employment opportunities, and leads to significant roadside repair costs.
Regular pre-trip inspections not only comply with regulations but also proactively ensure your safety and that of others on the road.
How Frequently Should You Conduct a CDL Pre Trip Inspection?
Pre-trip inspections are a daily commitment. The Department of Transportation mandates that drivers conduct inspections before every trip for all commercial vehicles. This means that before you even start your engine for the first time each day, a thorough inspection is necessary. It’s a routine that, while it may seem tedious, is crucial for maintaining the safety and integrity of your vehicle.
But what about post-trip inspections? While they are not required by DOT regulations, they are strongly encouraged as a best practice. Conducting a post-trip inspection when you stop for the day helps identify any issues that may have arisen during your journey. This proactive approach not only ensures that any problems are addressed promptly but also sets you up for a smoother start the next day.
Regular inspections are the cornerstone of vehicle safety. They help catch potential issues before they become major problems, ensuring that your vehicle remains in optimal condition. By making pre-trip and post-trip inspections a part of your daily routine, you’re taking essential steps to keep yourself and others safe on the road.
The Risks of Skipping a Pre Trip Inspection

Imagine driving down the highway at 65 miles per hour when suddenly, a tire blows out. Or worse, your brakes fail. These are not just hypothetical scenarios; they are real risks that can result from skipping a pre-trip inspection. Neglecting this critical step can lead to serious accidents, including tire blowouts or brake failures, putting your life and the lives of others in danger.
The consequences of failing to complete a pre-trip inspection extend beyond the immediate safety risks. It can also affect your employment opportunities and lead to significant roadside repair costs. Imagine being stranded on the side of the road, waiting for assistance, all because a simple inspection was overlooked. The costs can quickly add up, both in terms of time and money.
Moreover, failing to perform pre-trip inspections can have legal ramifications. Drivers who skip these inspections will incur a four-point violation under CSA regulations. In severe cases, out-of-service orders can be issued for vehicles found to have serious safety violations during inspections. By committing to regular pre-trip inspections, you’re not just protecting yourself and others; you’re also safeguarding your career and financial well-being.
Essential Components of a Pre Trip Inspection Checklist
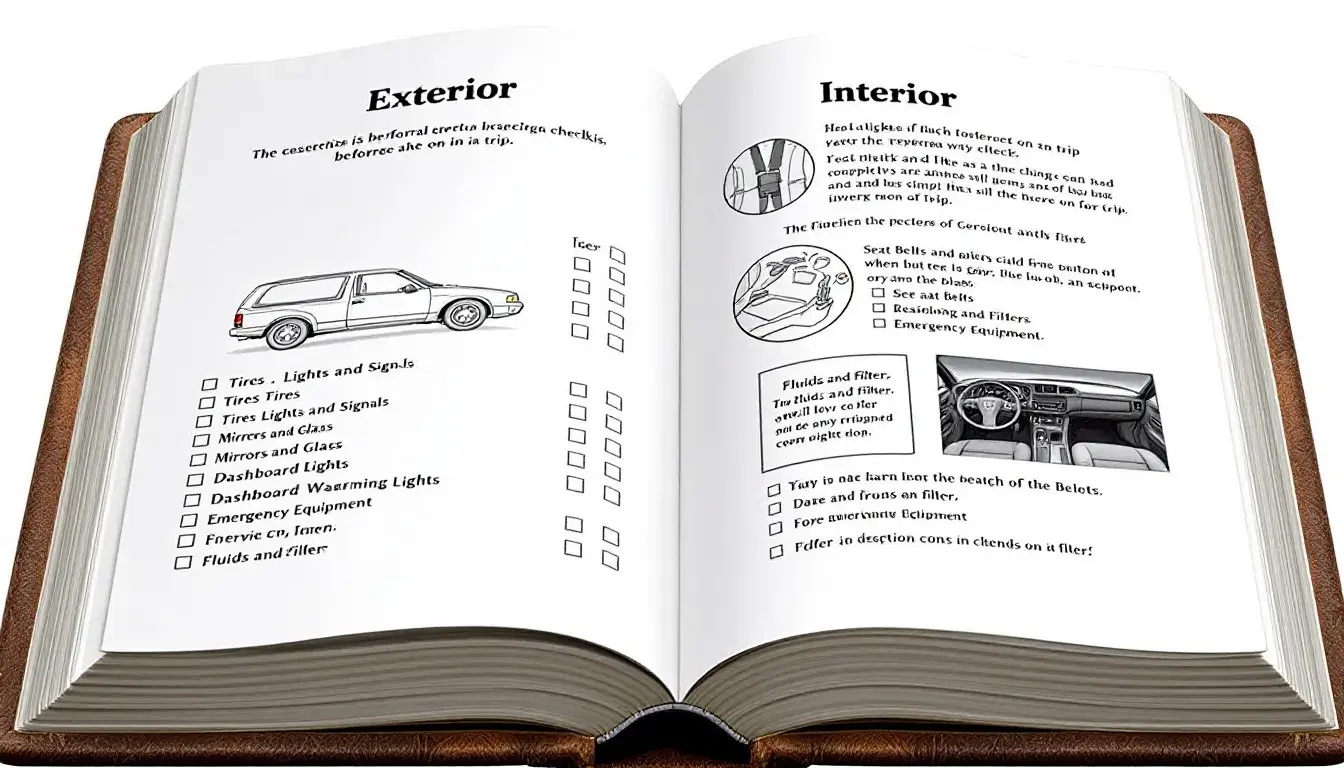
A comprehensive pre-trip inspection checklist is your best ally in ensuring vehicle safety. This checklist should cover key components such as the engine compartment, driver’s door fuel area, coupling system, trailer, light check, in-cab inspection, and brake tests. Each of these areas requires careful attention and a systematic approach, starting at the front and moving towards the back of the vehicle.
Let’s delve into the details of these components, starting with the engine compartment.
Engine Compartment
The engine compartment is the heart of your vehicle. Start by checking all fluid levels, including oil and coolant, to ensure they meet manufacturer specifications. Regularly checking these levels helps prevent engine issues and is vital for vehicle health. Look for any signs of leaks, especially from hoses, the coolant reservoir, and the water pump. Leaks can indicate underlying problems that need immediate attention.
Next, inspect the alternator. Make sure it is securely mounted, not cracked, and that all wires are properly fastened without any frayed areas. The alternator is crucial for keeping your electrical systems running smoothly. Similarly, verify that all hoses connected to the water pump are secure and not leaking. During your inspection, ensure that there is 1/2” to 3/4” of play in all belts. This helps prevent belt failures and ensures optimal performance.
Finally, take a moment to look underneath the engine compartment. Ensure there are no leaks or puddles forming. This simple step can catch potential issues early, saving you from costly repairs down the road.
Brake System
Your vehicle’s brake system is one of the most critical components for safety. Start by inspecting the brake hose to ensure it is securely mounted, with no splits, cuts, or air leaks. A damaged brake hose can lead to brake failure, so it’s essential to catch any issues early.
Check the brake lining for appropriate thickness, ensuring it’s not worn dangerously thin and is free of oil or debris. The minimum brake pad thickness should be at least 1/4 inch to ensure proper braking function. Thin brake pads can compromise your ability to stop quickly, increasing the risk of accidents.
Additionally, make sure there is no more than 1 inch of play in the slack adjuster during the inspection. This helps ensure that your brakes engage properly when needed. A thorough brake system check is vital for your safety and the safety of others on the road. By paying close attention to these details, you can prevent potential brake failures and ensure your vehicle stops effectively when it needs to.
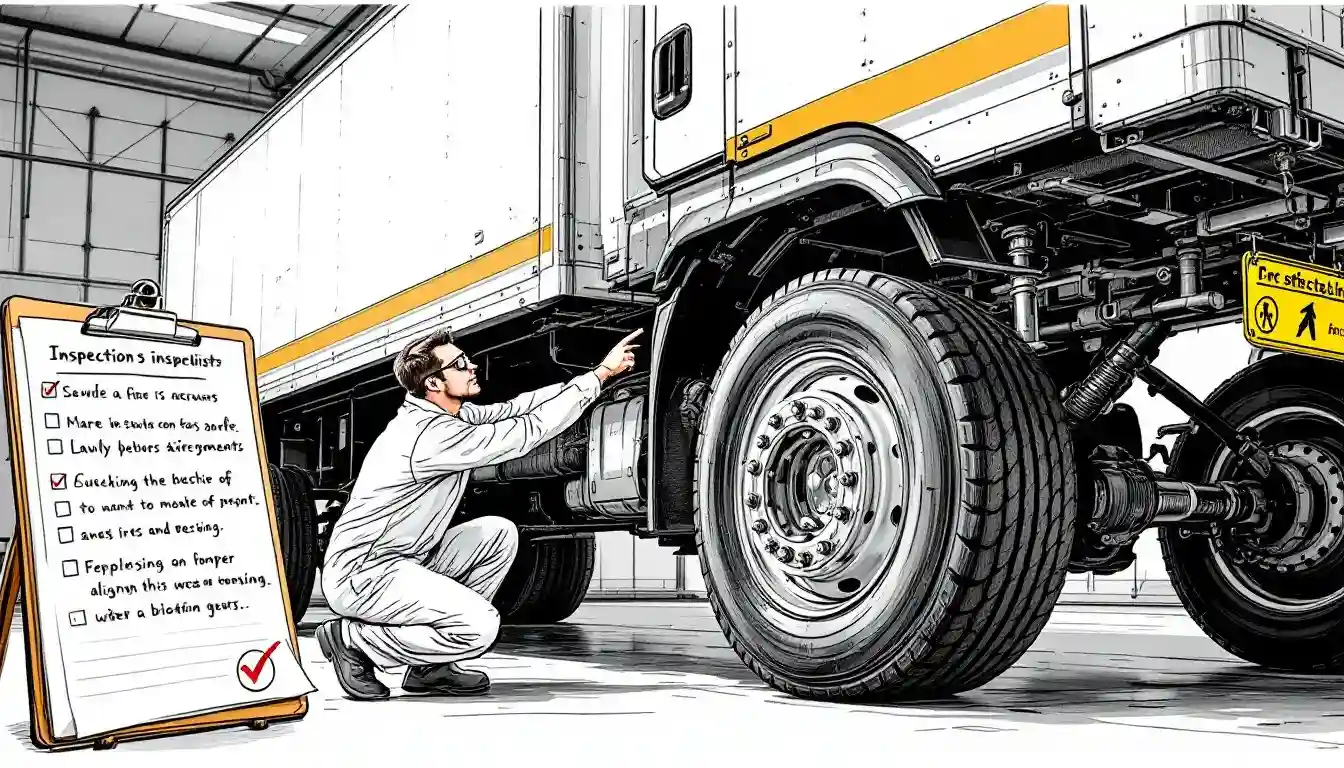
Wheels and Tires
Wheels and tires are your vehicle’s contact points with the road, making their condition crucial for safety. Start by assessing the tire condition for sufficient tread depth, cuts, and other damages. The minimum tread depth for steer tires is 4/32”, and for drive tires, it’s 2/32”. Monitoring tire pressure and tread depth is essential for safety and fuel efficiency, requiring checks at least monthly.
Next, check the tire sidewalls for cuts, bulges, and abrasions. Damaged sidewalls can lead to blowouts, which are dangerous at high speeds. Also, inspect the lug nuts to ensure they are not cracked or broken, and all must be present and tight. Loose or missing lug nuts can cause the wheel to detach while driving, leading to severe accidents.
If your vehicle is equipped with dual tires, ensure there is proper spacing between them to prevent rubbing. Additionally, inspect valve stems to ensure they are properly secured and free from leaks. By thoroughly checking your wheels and tires, you can prevent potential issues and ensure a smooth and safe ride.
In Cab Inspection and Brake Test
The in-cab inspection is just as important as the exterior checks. Start by inspecting the seat belt to confirm it is securely attached and has no damage. A functional seat belt is your first line of defense in an accident.
Check the dashboard light indicators by turning on the lights to ensure they function as needed. This includes checking the oil pressure gauge, water temperature gauge, air pressure gauges, ammeter/voltmeter, mirrors, windshield, wipers, horns, heater/defroster, and safety/equipment.
Ensure that the air brakes are functioning correctly by conducting the full brake applications while parked. The air gauges should indicate that the air pressure is building to the proper operating range without any warning lights. The low air warning should activate at approximately 60 psi.
The three-step brake test consists of releasing the trailer brake and checking the service brake. During the applied brake test, air pressure loss should not exceed 4 psi in one minute. The emergency spring brakes must engage when air pressure drops to a range of 40-20 psi.
Finally, the air compressor check requires the secondary tank pressure to rise from 85 psi to 100 psi in 45 seconds or less. By conducting these tests, you ensure that your brakes and other in-cab systems are functioning correctly, keeping you and others safe on the road.
Inspecting the Trailer & Trailer axle
The trailer is an integral part of your vehicle and requires a thorough inspection. Start by examining the trailer frame and cross members to ensure they are free from cracks or breaks and are structurally sound. A damaged frame can compromise the entire trailer’s integrity.
Check the landing gear to ensure it is completely raised, functional, and securely attached without damage. Properly mounted landing gear is essential for safely parking and detaching the trailer.
Trailer axles must be inspected for proper alignment and integrity, including checking the suspension and brake components. Misaligned axles can lead to uneven tire wear and handling issues. The trailer’s header board should be intact, free of significant damage, and should effectively secure the load.
Finally, ensure that the shock absorbers on the trailer are in good condition with no visible leaks or signs of damage. Well-maintained shock absorbers ensure a smooth ride and help protect your cargo.
By thoroughly inspecting the trailer, you can catch potential issues early and ensure that your trailer is ready for the road, keeping both your cargo and vehicle safe.
Coupling Area Inspection
The coupling area is where your vehicle and trailer connect, making it a critical point of inspection. Start by inspecting the fifth wheel platform for any signs of cracks or breaks. If the sliding fifth wheel is equipped, check that locking pins are fully engaged and not missing. Properly engaged locking pins ensure the trailer stays connected to the vehicle.
Verify the kingpin for any bends or visible damage and ensure it’s securely mounted. The locking jaw must be fully locked around the kingpin. Check the mounting bolts for any looseness or missing components. Confirm that all mounting bolts are tight and no bolts are missing. A secure mounting system is essential for maintaining the connection between the vehicle and the trailer.
The release arm must be in the engaged position with the safety latch secured. The fifth wheel skid plate needs to be properly lubricated and secured to its platform. Check the air and electrical lines to ensure they are not cut, chafed, or pinched. By thoroughly inspecting the coupling area, you ensure a safe and secure connection between your vehicle and trailer, preventing potential accidents and detachment on the road.
Lights and Reflectors Check
Lights and reflectors are your vehicle’s way of communicating with other road users. Start by verifying that all exterior lights, including turn signals and warning lights, are functioning and that lenses are clean for visibility. This includes checking the functionality of clearance lights and headlights as part of the front light assessment. Ensuring that these lights are operational is crucial for safe driving, especially in low visibility conditions.
Conduct routine light checks, including headlights and brake lights, to prevent visibility issues and ensure safety. This step is often overlooked but is vital for avoiding accidents. Reflectors should be inspected to ensure they are free from dirt or damage, maintaining their effectiveness.
Clean and functional reflectors ensure that your vehicle is visible to others, especially at night or in poor weather conditions. By regularly checking your lights and reflectors, you enhance your vehicle’s visibility and communication on the road, contributing to overall safety for both you and other drivers.
Commercial Vehicles Safety Equipment Verification

Safety equipment can be the difference between a minor inconvenience and a major disaster. Start by verifying that the fire extinguisher is securely mounted and rated for the vehicle. It must be easily accessible and properly charged. A functional fire extinguisher is crucial in the event of a fire, allowing you to respond quickly and effectively.
Ensure that emergency equipment like spare electrical fuses is available in the vehicle. Reflective triangles should be stored in a location that is easy to reach during an emergency. This equipment is essential for alerting other drivers to your presence in the event of a breakdown or emergency stop.
Regularly check your emergency equipment for functionality to ensure readiness. Safety belts must not only be intact but also functional and able to adjust properly. By verifying your safety equipment, you prepare yourself for any emergency, ensuring that you can handle unexpected situations effectively and safely.
Preventative Maintenance Tips
Preventative maintenance is key to keeping your vehicle in top condition and avoiding costly repairs. Start by regularly checking and changing transmission fluid to avoid costly transmission repairs. Flushing the coolant system helps maintain engine temperature and prevents overheating. These simple steps can save you from major engine issues down the road.
Tire rotation is important for extending tire life by promoting even tread wear across all tires. Inspecting the air filter can enhance fuel efficiency and reduce emissions by ensuring proper airflow to the engine. These maintenance tasks not only improve your vehicle’s performance but also contribute to better fuel economy.
Finally, applying wax to the vehicle every six months protects the paint and minimizes rust due to environmental exposure. Inspecting shocks and struts at recommended intervals ensures optimal handling and ride quality. By following these preventative maintenance tips, you can enhance your vehicle’s longevity and reliability, ensuring it remains in peak condition for every trip.
Summary
Mastering the pre-trip inspection checklist is essential for every CDL driver. It ensures the safety, reliability, and compliance of your vehicle. By performing regular pre-trip inspections, you can catch potential issues before they become major problems, ensuring a smooth and safe journey every time. From the engine compartment to the coupling area, each part of the inspection is crucial for maintaining vehicle integrity.
Regular inspections not only prevent accidents and breakdowns but also protect your career and financial well-being. By following the guidelines and tips provided in this guide, you can ensure that your vehicle is always ready for the road, keeping you and others safe.
In conclusion, a thorough pre-trip inspection is more than just a regulatory requirement; it’s a commitment to safety and excellence. By dedicating time and attention to each aspect of the inspection, you set yourself up for success on every journey. Stay safe, stay compliant, and happy driving!